| 4 Zone 24 VAC 1" Manifold Kit |
An automatic 24VAC 1” valve manifold kit is a simple solution for creating multiple zones in any irrigation system.
Step 1: Selecting a location for installation of your valve manifold system (usually near your water source).
Step 2: Build your valve manifold sections.
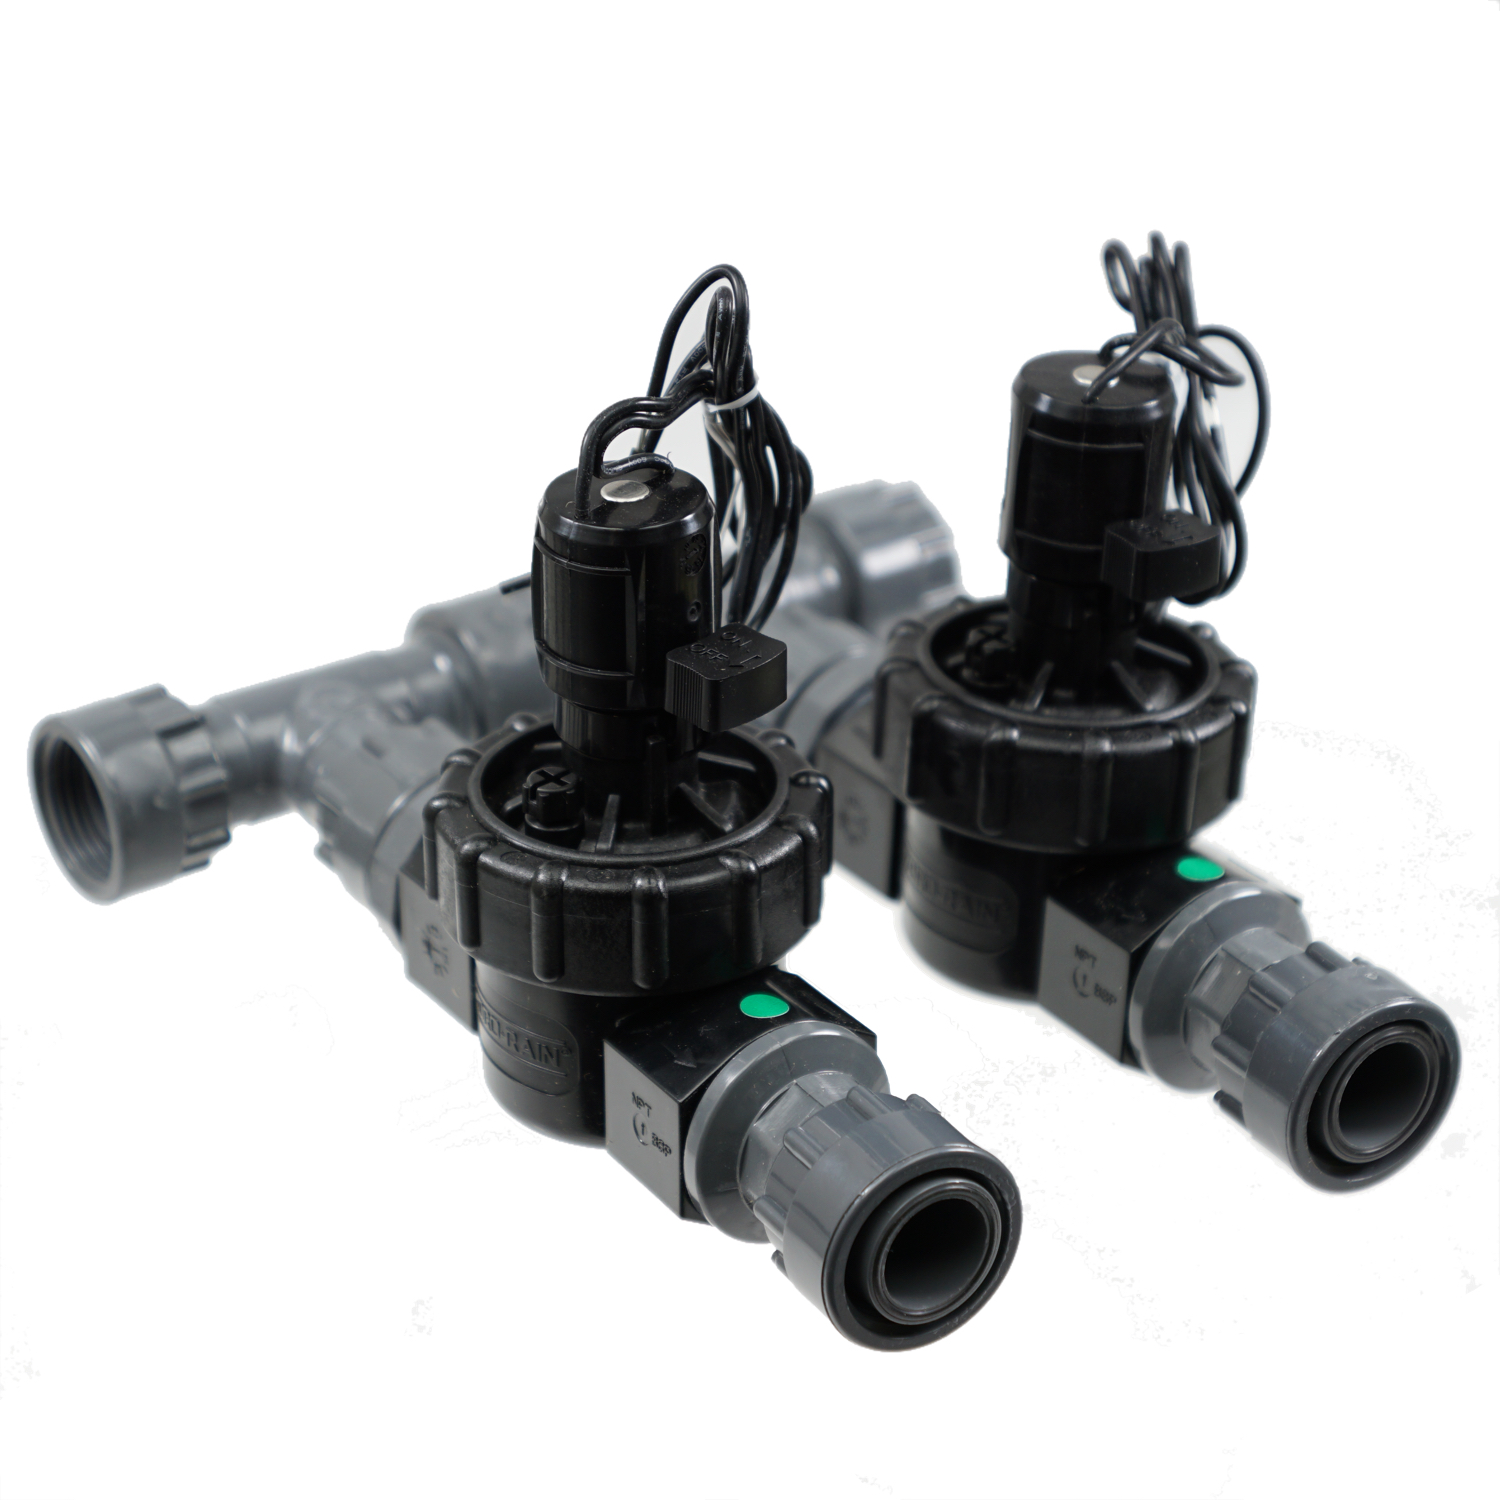
Start with the manifold Tee fitting and attach the pipe nipple (side without the large nitril o-ring) to the lower swivel connection on the tee.
Connect the valve to the o-ring pipe nipple (side with the large nitril o-ring to valve). Pay close attention to the directional flow arrows on the valve for proper installation.
Attach the male x female swivel adapter to the outflow of the valve.
Connect the manifold tee of each valve manifold section together (side x side) and cap the end with the manifold end cap.
Step 3: Follow manufacturer’s installation instructions for valve and controller installation.
Step 4: Layout and connect your irrigation system to the outflow connections of valve manifold system.
Tips:
Irrigation tubing and piping has limits as to how much water can be carried through and how far. Also keep in mind, the flow rate of your water source must not be exceeded in any single zone. We have many helpful resources on our website to assist in your planning. See our Solutions in the Learning Center.
Often a valve manifold system is installed below grade in a valve box for protection and convenience.
The manifold fittings have Nitril rubber o-rings for leakproof sealing so no pipe dope or teflon tape is required.
Hand tighten manifold parts only.
It is recommended to open and flush out all lines before pressurizing a newly installed system or after making any repairs.